- 1-2x People
- 1x Drill or impact driver
- 1x Handsaw
- Level
- Hammer
- Measuring tape
- Ladder
- Square
- Floor panel(s)
- Side wall panels
- Back wall panels
- Roof frame(s)
- Roofing iron sheets (includes clear panels)
- Roof flashings
- Box corners
- Hardwood Garapa fascia boards
- Barn door + components
- Screws + drill bits
Kitset Shed Assembly Guide
A) Lay your base floor down and check it is level. These sheds are built to be assembled on level & square foundations.
It is your responsibility to check that your surface for building is level and square.
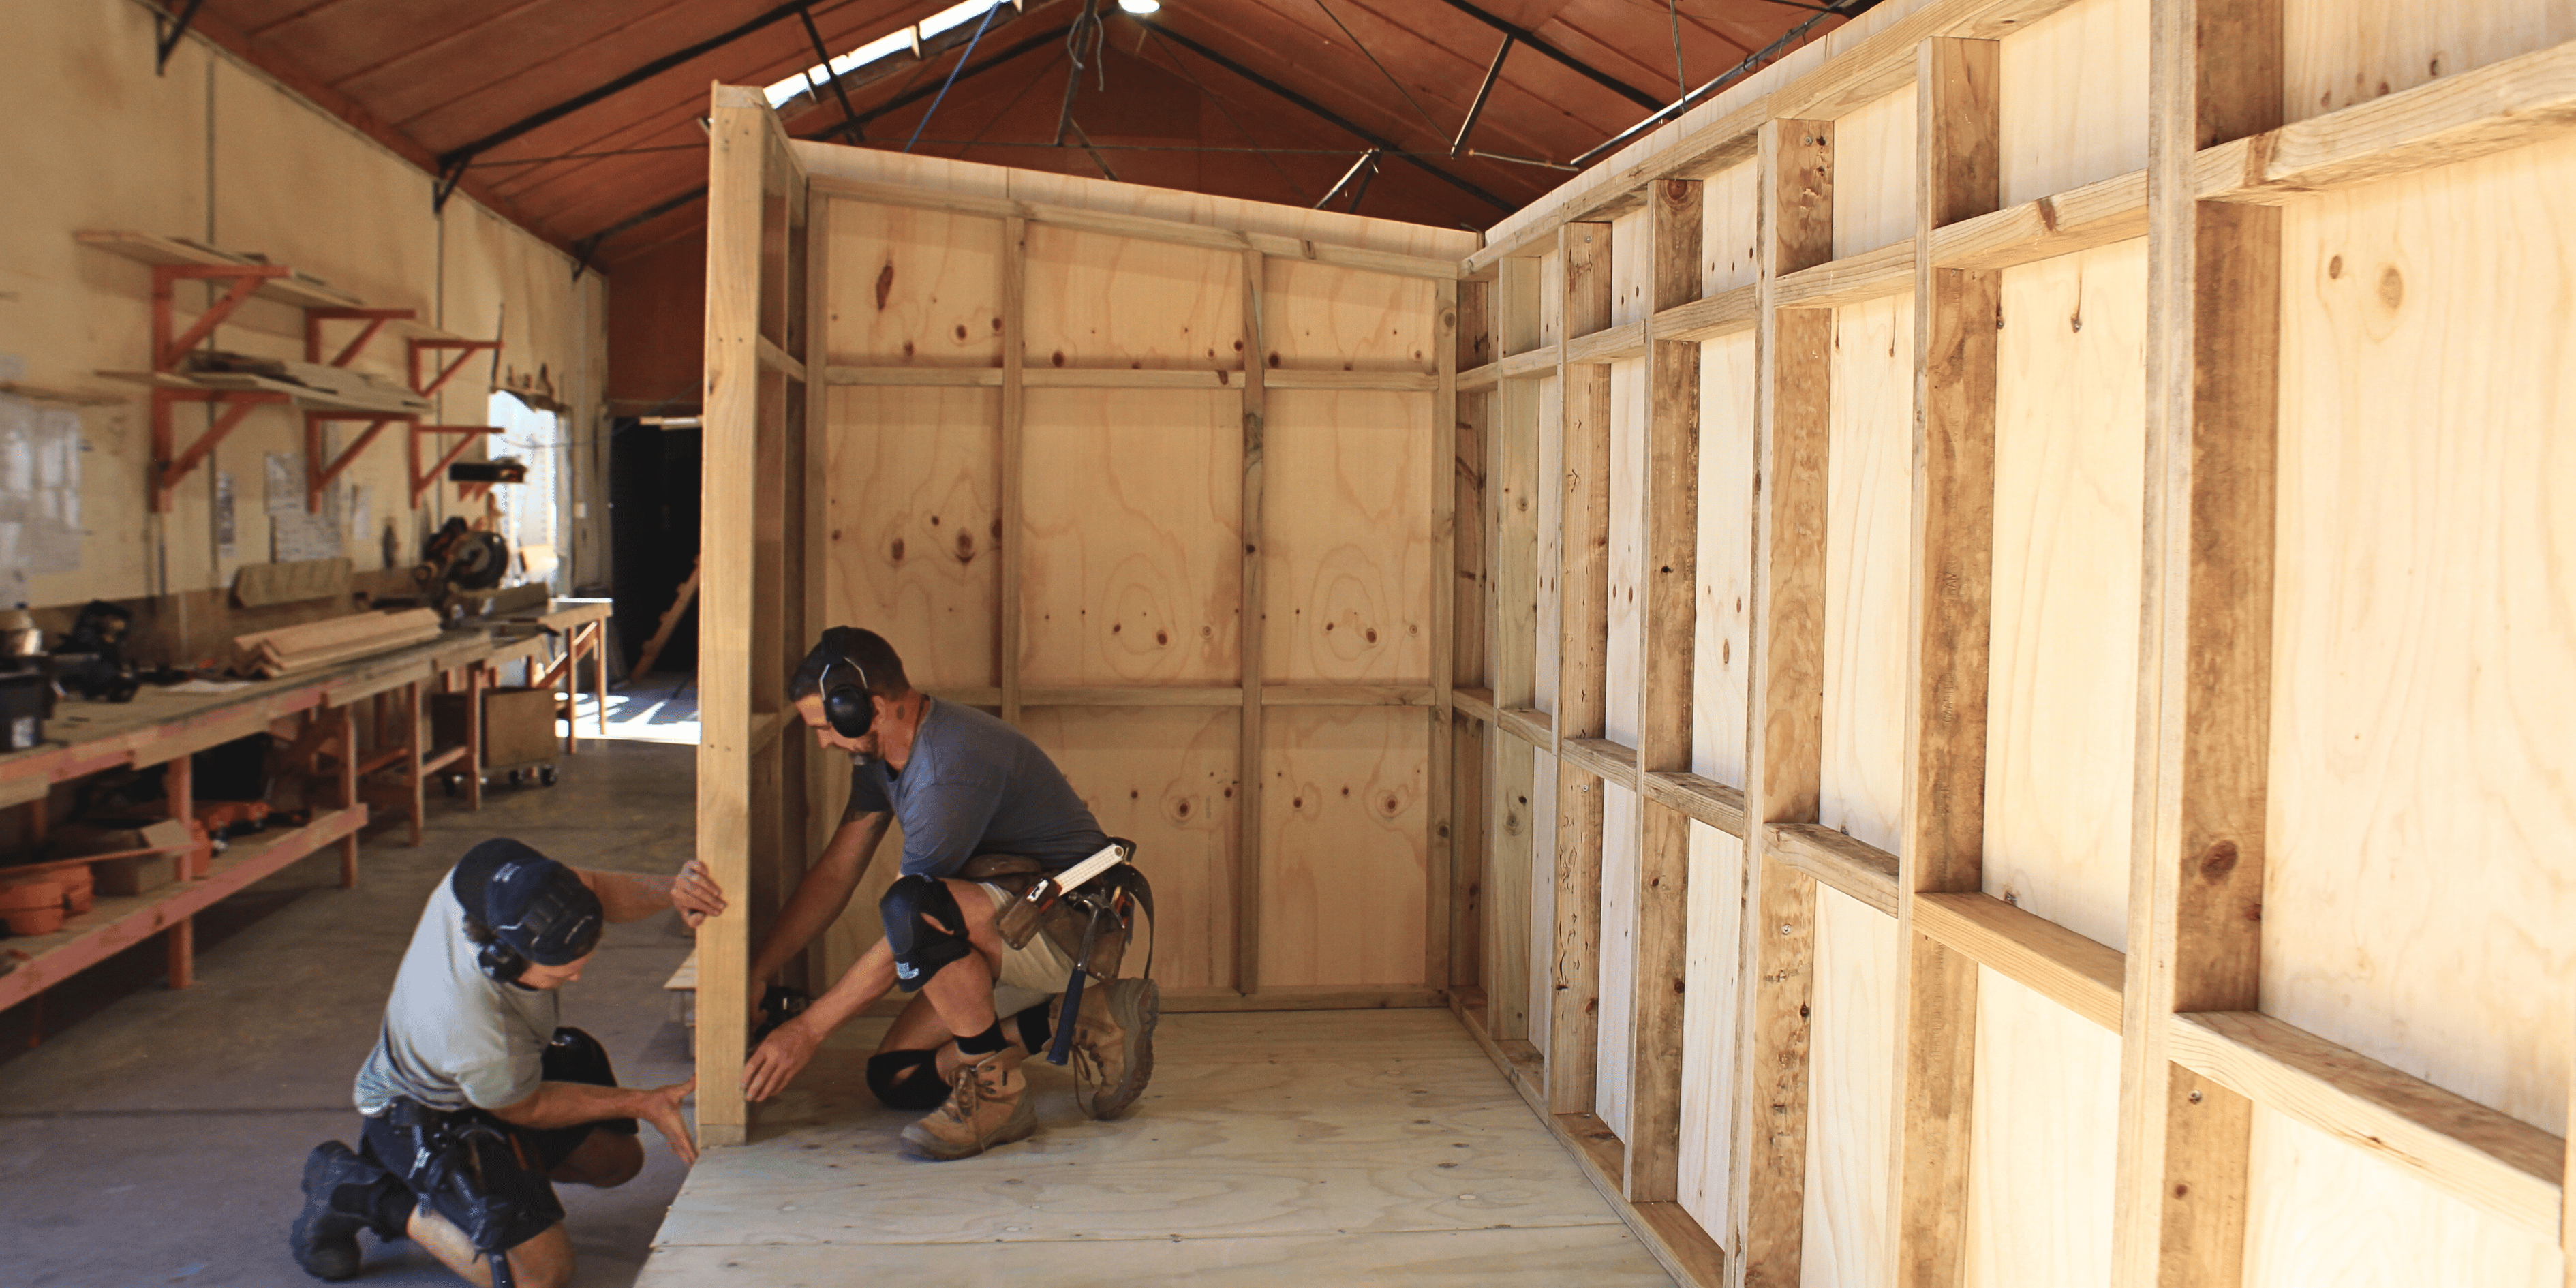
A) Starting with a side wall, stand it up. Using the 150mm x 14g bugle screws provided, attach it to the floor where indicated on the bottom plate of the wall framing.
B) Next, stand your back wall. Screw your side wall and back all together using 100mm 14g Bugle Screws from the side wall into the back wall.
Screw your back wall down to the floor using 150mm x 14g Bugle Screws in the spaces indicated on the bottom plate. This will create a solid corner and your shed will begin to take shape.
C) Follow this process for all wall panels, finishing with the front wall panels and door wall panel. It should fit snuggly into the gap created by the other wall panels.
Once you've got it into place, screw the front wall to the floor using the 14g Bugle Screw, then screw it to the side walls using the same screws.
A) The roof is split into liftable parts that weigh approx. 45kg each.
These are 2 person lifts at minimum, and we recommend using a ladder.
B) Once your roofing frame is sitting on, it's time to fix it down to the walls using 150mm x 14g Bugle Screws.
A) The front fascia comes pre-installed. Your fascias will be labelled for their location. Select the fascia and match it up to where it is labelled for, and line it up so it is flush to the front fascia.
B) Once your fascia is lined up, screw it off using 50mm x 8g T20 Star Head SS Screws.
C) Follow this same process for the box corners which are labelled for their location.
A) Now your roof framing is on, the fascia and box corners are installed, and your shed is square, it's time to get your corrugated iron & Clearlite panels on.
B) Screws we use here are galvanized 5/16mm roofing screws with wide heads for holding down the roofing iron. Screw your roof down with your impact driver or drill.
GOODWOOD'S RULE OF THUMB;
Always screw on the ridges, not the valleys.
One screw on an edge next to that.
One screw on every join.
One screw on every second ridge.
A) The screw holes for installing your barndoor hardware will be pre-drilled for the screws and plugs. Follow the instructions on the door hardware box to install these door parts.
B) Now all that's left is to align it nicely and screw off the stoppers. Lift your door onto the rail, then slide it back and forth to check it's nice and smooth.
C) Now, line up the door so it stops sliding at the right place & install your stoppers.
Go around your new shed and admire the work you've put in, talk a bout how good it looks and
give yourself a big pat on the Back! Great job!
Questions, comments and feedback are welcome - flick us an email to hello@goodwood.nz to let us know how yours went!
Goodwood Sheds are designed with you in mind. They come in pre-built panels that require screwing together, not building from scratch!
Please consider the environment before printing the assembly guide.